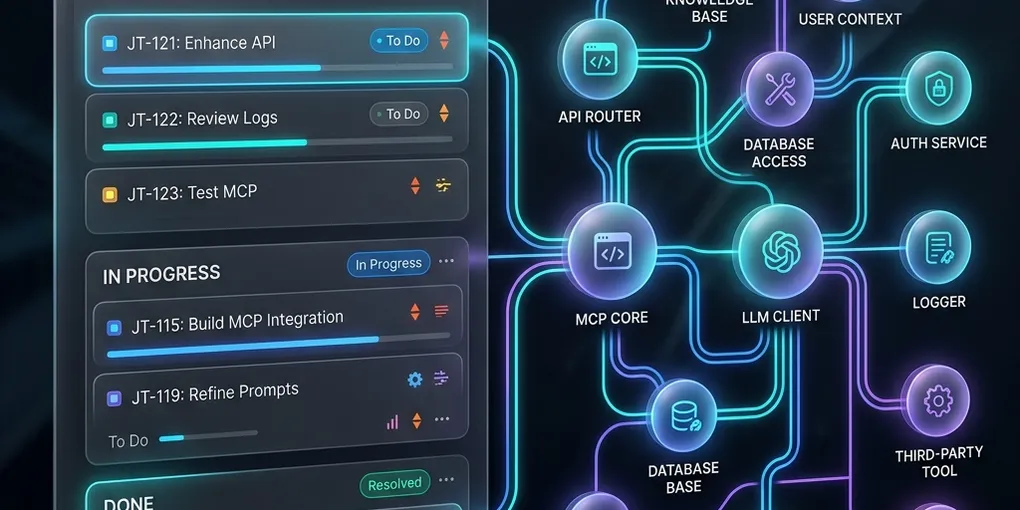
Atlassian Jira Rovo MCP vs. Custom MCP Servers: A Comprehensive Integration Guide

With the rise of agentic coding assistants, developers are increasingly looking to integrate their daily workflows directly into their AI environments. One of the most common productivity integrations is Jira—allowing an agent to create, view, transition, or comment on issues in real-time.
Under the Model Context Protocol (MCP) standard developed by Anthropic, there are two primary paths to hook up Jira to your agent:
- Atlassian Rovo MCP (The native, cloud-hosted remote server).
- Custom Jira MCP (A self-built local server wrapping Jira APIs).
In this guide, we will break down the architectural differences, highlight configuration steps, explore a critical cloudId gotcha, and provide standard code snippets to connect both options to your local developer workflow.
🏗️ Architectural Overview
Before looking at configuration, it is important to understand where the execution boundary lies for both types of servers.
    +---------------------------------------------------------------------------------+
    |                                   Local Host                                    |
    |                                                                                 |
    |  +---------------------+        Stdio RPC       +----------------------------+  |
    |  |  AI Coding Agent    | <====================> |  mcp-remote Proxy client   |  |
    |  +---------------------+                        +-------------+--------------+  |
    |                                                               |                 |
    +---------------------------------------------------------------|-----------------+
                                                                    | SSE Connection
                                                                    v (OAuth / HTTPS)
    +---------------------------------------------------------------+-----------------+
    |                                 Atlassian Cloud                                 |
    |                                                                                 |
    |  +---------------------+                        +-------------+--------------+  |
    |  |      Jira API       | <--------------------- |    Atlassian Rovo Server   |  |
    |  +---------------------+                        +----------------------------+  |
    |                                                                                 |
+---------------------------------------------------------------------------------+- Atlassian Rovo MCP: Runs as a remote, secure hosted service by Atlassian. A lightweight command-line utility (
mcp-remote) runs locally, establishing a secure Server-Sent Events (SSE) tunnel to proxy JSON-RPC messages from your agent to the cloud-hosted Rovo backend. - Custom Jira MCP: Runs entirely on your local machine. A local Python (FastMCP) or Node.js server makes direct HTTP requests to Jira’s REST API endpoints using either a Personal Access Token (PAT), Basic Auth, or local OAuth cookies.
🛰️ 1. Native Atlassian Rovo MCP Setup
Atlassian officially provides Rovo MCP tools. Connecting to it is done by proxying the connection via mcp-remote.
Configuration in mcp_config.json
Add the following configuration to your agent’s config file (e.g. ~/.config/Cursor/mcp_config.json or equivalent):
{
  "mcpServers": {
    "atlassian-rovo": {
      "command": "npx",
      "args": [
        "-y",
        "mcp-remote@latest",
        "https://mcp.atlassian.com/v1/mcp"
      ]
    }
  }
}
The Critical Gotcha: The cloudId Parameter
When invoking native tools (like addCommentToJiraIssue or createJiraIssue), the server requires a parameter named cloudId.
Many developers incorrectly pass their site URL (e.g. https://my-company.atlassian.net) which results in a 404 Tenant Info Failed error. Atlassian’s remote API requires the actual Cloud ID UUID representing the tenant instance.
How to resolve your Cloud ID UUID:
To retrieve the UUID, first invoke the getAccessibleAtlassianResources tool. It takes no arguments and returns a list of accessible sites:
[
  {
    "id": "29aecba7-6c22-4e1a-8b28-f91da248af02",
    "url": "https://my-company.atlassian.net",
    "name": "my-company",
    "scopes": ["read:jira-work", "write:jira-work"]
  }
]
The value in the "id" field (29aecba7-6c22-4e1a-8b28-f91da248af02) is your target cloudId parameter for all subsequent write and read tool requests.
🛠️ 2. Creating a Custom Jira MCP Server
If you are running on-premise Jira (Jira Server / Data Center) or need to write custom logic (like automatically matching issue statuses with Git branches or custom fields), you can write a local custom MCP server using FastMCP in Python.
Example: mcp_server_jira.py
Create a custom Python MCP server:
# File: mcp_server_jira.py
import os
import requests
from mcp.server.fastmcp import FastMCP
from pydantic import BaseModel, Field

mcp = FastMCP("custom-jira")

JIRA_URL = os.getenv("JIRA_URL", "https://your-company.atlassian.net")
JIRA_EMAIL = os.getenv("JIRA_EMAIL")
JIRA_API_TOKEN = os.getenv("JIRA_API_TOKEN")

class CommentInput(BaseModel):
    issue_key: str = Field(..., description="Jira issue key (e.g. LA-659)")
    comment: str = Field(..., description="Comment text in markdown")

@mcp.tool(name="jira_add_comment")
def jira_add_comment(params: CommentInput) -> str:
    """Adds a comment to a specific Jira ticket using basic auth credentials."""
    url = f"{JIRA_URL}/rest/api/3/issue/{params.issue_key}/comment"

    headers = {
        "Accept": "application/json",
        "Content-Type": "application/json"
    }

    # Atlassian REST API v3 uses ADF (Atlassian Document Format) for body contents
    payload = {
        "body": {
            "type": "doc",
            "version": 1,
            "content": [
                {
                    "type": "paragraph",
                    "content": [
                        {
                            "type": "text",
                            "text": params.comment
                        }
                    ]
                }
            ]
        }
    }

    auth = (JIRA_EMAIL, JIRA_API_TOKEN)
    response = requests.post(url, json=payload, headers=headers, auth=auth)

    if response.status_code == 201:
        return f"Successfully added comment to {params.issue_key}!"
    return f"Failed ({response.status_code}): {response.text}"

if __name__ == "__main__":
    mcp.run()
💻 3. Client-Side Subprocess Integration
In script automations, you may want to invoke MCP tools programmatically via Python rather than relying on a chat client. You can achieve this by launching the MCP command in a subprocess, handling the stdio JSON-RPC handshake, and dispatching tool requests.
Here is a clean client wrapper that spawns the proxy and runs addCommentToJiraIssue:
# File: run_atlassian_comment.py
import subprocess
import json
import sys

def post_jira_comment(issue_key, comment_text):
    # npx executes the remote mcp client as a stdio subprocess
    cmd = ["npx", "-y", "mcp-remote@latest", "https://mcp.atlassian.com/v1/mcp"]
    proc = subprocess.Popen(
        cmd,
        stdin=subprocess.PIPE,
        stdout=subprocess.PIPE,
        stderr=sys.stderr,
        text=True,
        bufsize=0,
        shell=True  # Required on Windows to locate npx.cmd
    )

    def read_rpc():
        line = proc.stdout.readline()
        return json.loads(line) if line else None

    def write_rpc(msg):
        proc.stdin.write(json.dumps(msg) + "\n")
        proc.stdin.flush()

    # Step 1: JSON-RPC Initialize
    write_rpc({
        "jsonrpc": "2.0",
        "id": 1,
        "method": "initialize",
        "params": {
            "protocolVersion": "2024-11-05",
            "capabilities": {},
            "clientInfo": {"name": "python-script", "version": "1.0"}
        }
    })

    # Wait for initialize response
    while True:
        resp = read_rpc()
        if resp and resp.get("id") == 1:
            break

    # Send initialized notification
    write_rpc({
        "jsonrpc": "2.0",
        "method": "notifications/initialized"
    })

    # Step 2: Call the comment tool
    # Change cloudId to your resolved tenant UUID
    write_rpc({
        "jsonrpc": "2.0",
        "id": 2,
        "method": "tools/call",
        "params": {
            "name": "addCommentToJiraIssue",
            "arguments": {
                "cloudId": "29aecba7-6c22-4e1a-8b28-f91da248af02",
                "issueIdOrKey": issue_key,
                "commentBody": comment_text,
                "contentFormat": "markdown"
            }
        }
    })

    # Capture the result
    while True:
        resp = read_rpc()
        if resp and resp.get("id") == 2:
            result = resp.get("result", {})
            print(f"[+] Comment posted successfully: {json.dumps(result, indent=2)}")
            break

    proc.terminate()

if __name__ == "__main__":
    post_jira_comment("LA-659", "Hello from agent automation!")
⚖️ Comparison Matrix
| Feature | Atlassian Rovo MCP | Custom Jira MCP |
|---|---|---|
| Hosting | Hosted by Atlassian (SaaS) | Localhost / On-premise server |
| Authentication | Remote OAuth via browser popover | Basic Auth, API Token, or PAT |
| Custom Endpoints | Restricted to standard Jira schema | Fully custom scripts & DB queries |
| Environment Support | Jira Cloud | Jira Cloud & Jira Server/Data Center |
| Gotchas | Requires UUID cloudId lookup | Must parse/generate ADF JSON format |
🚀 Conclusion
Choosing between the native Atlassian Rovo MCP and a Custom MCP depends on your setup. If you are operating on Jira Cloud and want a seamless, secure connection with minimal configuration, the native Rovo MCP server with mcp-remote is the gold standard. If you are running Jira on-premise, require custom integrations, or want strict offline controls, spinning up a local FastMCP Python wrapper is the way to go.
Have you hooked up Jira to your AI coding agent? Let us know in the comments below!