Build an Airtable MCP Server: Turning Your Database into a Dynamic Agent User Interface

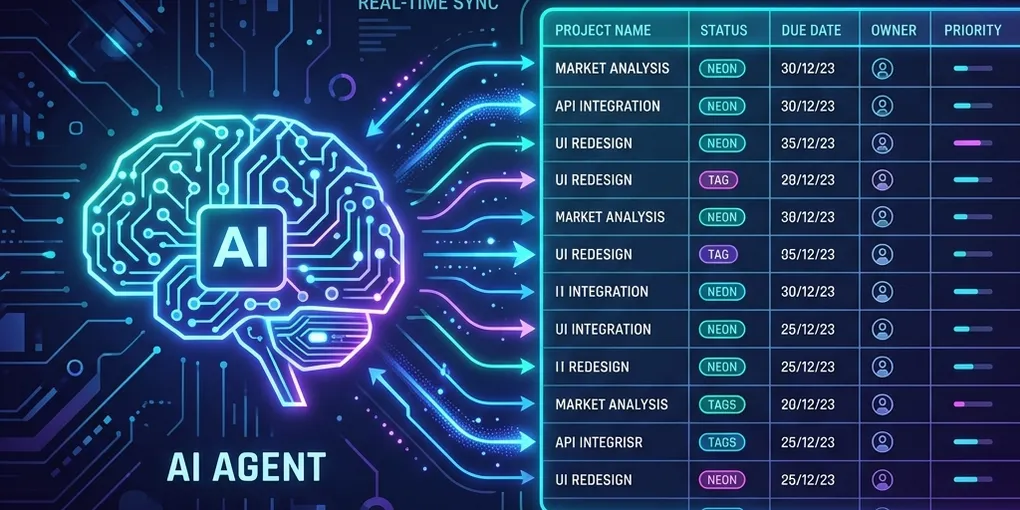
As AI agents move from simple chatbots to complex autonomous execution engines, a critical developer challenge has emerged: User Interface (UI). Building custom dashboards to display agent states, execution steps, logs, and human-in-the-loop approvals is incredibly time-consuming.
What if we could skip building custom frontend portals entirely, and instead leverage a highly interactive, collaborative, and structures-rich low-code database as our agent’s UI?
By combining the Model Context Protocol (MCP) with Airtable, we can do exactly that. We can expose our Airtable bases to AI clients like Claude, allowing the agent to read, write, and organize data in real-time, while developers and operators monitor and interact with the agent using Airtable’s beautiful native grid, kanban, and dashboard views.
In this guide, we will design and implement a production-ready Airtable MCP server in Python using FastMCP.
🏗️ High-Level Architecture
The integration relies on three main components: the AI Agent (MCP Client), our custom Airtable MCP Server, and the Airtable REST API.
+------------------+                 +----------------------+                 +--------------------+
|  AI Agent Client |   <=========>   | Airtable MCP Server  |   <=========>   | Airtable REST API  |
| (Claude/Cursor)  |    (via MCP)    |      (FastMCP)       |    (via HTTP)   |  (Database Engine) |
+------------------+                 +----------------------+                 +--------------------+
         |                                                                               |
         | (Updates context)                                                             | (Syncs visually)
         v                                                                               v
+--------------------------------------------------------------------------------------------------+
|                                    Airtable Web Workspace                                        |
|                          (Real-Time Grid, Kanban Boards, View Filters)                           |
+--------------------------------------------------------------------------------------------------+
When an agent needs to record an action, check a task status, or log a cost metric, it invokes the corresponding tool exposed by our MCP server. The server executes the REST request against the Airtable API, and the visual change is reflected in the Airtable UI within milliseconds.
🛠️ Step-by-Step Implementation
We will write our MCP server in a single modular script using Python’s mcp SDK and its high-level FastMCP wrapper.
1. Project Dependencies
First, we need to create a project directory and install the necessary libraries.
# Install FastMCP and the HTTP request client
pip install mcp[cli] httpx
2. Creating the MCP Server (airtable_mcp.py)
Create a new file named airtable_mcp.py in your development directory.
# airtable_mcp.py
import os
from typing import Dict, Any, List, Optional
import httpx
from mcp.server.fastmcp import FastMCP

# Initialize FastMCP Server
mcp = FastMCP("Airtable-UI-Bridge")

# Retrieve Airtable Credentials from Environment
AIRTABLE_API_KEY = os.getenv("AIRTABLE_API_KEY")
AIRTABLE_BASE_URL = "https://api.airtable.com/v0"

if not AIRTABLE_API_KEY:
    raise ValueError("[ERROR] AIRTABLE_API_KEY environment variable is required.")

def get_headers() -> Dict[str, str]:
    """Helper to return authorization headers for Airtable API requests."""
    return {
        "Authorization": f"Bearer {AIRTABLE_API_KEY}",
        "Content-Type": "application/json"
    }

@mcp.tool()
async def list_records(base_id: str, table_name: str, max_records: int = 100) -> str:
    """
    List records from a specific Airtable table.

    Args:
        base_id: The unique ID of the Airtable base (starts with 'app').
        table_name: The name or ID of the table.
        max_records: Maximum number of records to retrieve (default 100).
    """
    url = f"{AIRTABLE_BASE_URL}/{base_id}/{table_name}"
    params = {"maxRecords": max_records}

    async with httpx.AsyncClient() as client:
        response = await client.get(url, headers=get_headers(), params=params)
        if response.status_code != 200:
            return f"[ERROR] Failed to fetch records: {response.text}"

        data = response.json()
        records = data.get("records", [])

        output = []
        for rec in records:
            output.append(f"- ID: {rec['id']} | Fields: {rec['fields']}")

        return "\n".join(output) if output else "No records found."

@mcp.tool()
async def create_record(base_id: str, table_name: str, fields: Dict[str, Any]) -> str:
    """
    Create a new record in a specific Airtable table.

    Args:
        base_id: The unique ID of the Airtable base.
        table_name: The name or ID of the table.
        fields: A key-value dictionary representing the record fields.
    """
    url = f"{AIRTABLE_BASE_URL}/{base_id}/{table_name}"
    payload = {"fields": fields}

    async with httpx.AsyncClient() as client:
        response = await client.post(url, headers=get_headers(), json=payload)
        if response.status_code != 200:
            return f"[ERROR] Failed to create record: {response.text}"

        data = response.json()
        return f"[SUCCESS] Record created successfully. ID: {data.get('id')}"

@mcp.tool()
async def update_record(base_id: str, table_name: str, record_id: str, fields: Dict[str, Any]) -> str:
    """
    Update field values of an existing record in Airtable (PATCH update).

    Args:
        base_id: The unique ID of the Airtable base.
        table_name: The name or ID of the table.
        record_id: The unique ID of the record (starts with 'rec').
        fields: A key-value dictionary representing fields to update.
    """
    url = f"{AIRTABLE_BASE_URL}/{base_id}/{table_name}/{record_id}"
    payload = {"fields": fields}

    async with httpx.AsyncClient() as client:
        response = await client.patch(url, headers=get_headers(), json=payload)
        if response.status_code != 200:
            return f"[ERROR] Failed to update record: {response.text}"

        return f"[SUCCESS] Record {record_id} updated successfully."

@mcp.tool()
async def delete_record(base_id: str, table_name: str, record_id: str) -> str:
    """
    Delete a record from an Airtable table.

    Args:
        base_id: The unique ID of the Airtable base.
        table_name: The name or ID of the table.
        record_id: The unique ID of the record to delete.
    """
    url = f"{AIRTABLE_BASE_URL}/{base_id}/{table_name}/{record_id}"

    async with httpx.AsyncClient() as client:
        response = await client.delete(url, headers=get_headers())
        if response.status_code != 200:
            return f"[ERROR] Failed to delete record: {response.text}"

        return f"[SUCCESS] Record {record_id} deleted successfully."

if __name__ == "__main__":
    mcp.run()
3. Understanding the Code
Our script utilizes the decorator pattern @mcp.tool() provided by FastMCP. The docstrings and type annotations on each function are dynamically converted by FastMCP into tool schemas that are sent to the LLM agent.
When the agent analyzes the tools, it receives clean definitions explaining exactly what parameters like base_id and fields do, allowing it to auto-generate valid JSON payloads when making tool calls.
🔍 Verification & Testing
We can test our server locally using the built-in MCP Dev tools or the Claude Desktop application.
1. Test in MCP Inspector
FastMCP includes a local development dashboard and terminal inspector. Run the following command to boot it up:
# Start the FastMCP development and inspection server
export AIRTABLE_API_KEY="your_personal_access_token_here"
fastmcp dev airtable_mcp.py
This will launch a local dashboard where you can manually trigger tools and verify HTTP communications with Airtable.
2. Configure Claude Desktop Client
To expose the Airtable MCP tools directly to your local Claude Desktop app, edit your configuration file:
- Windows:
%APPDATA%\Claude\claude_desktop_config.json - macOS:
~/Library/Application Support/Claude/claude_desktop_config.json
Add your server config block:
{
  "mcpServers": {
    "airtable-mcp": {
      "command": "python",
      "args": ["/path/to/your/airtable_mcp.py"],
      "env": {
        "AIRTABLE_API_KEY": "your_personal_access_token_here"
      }
    }
  }
}
Restart Claude Desktop, and you will see the new tools under the plug icon!
🎯 Conclusion & Next Steps
Exposing Airtable to your AI agents gives you a visual, collaborative UI for your agent workflows with zero frontend development effort.
To build further on this setup, we suggest:
- Adding Webhook Triggers: Use Airtable’s automation rules to send a webhook back to your agent script whenever a human changes a record state (e.g. approving a task).
- Standardized Status Boards: Build a Kanban board inside Airtable where the agent moves cards between
To-Do,In Progress, andReviewblocks automatically.
How are you planning to leverage Airtable as a user interface for your AI workflows? Let us know in the comments below!